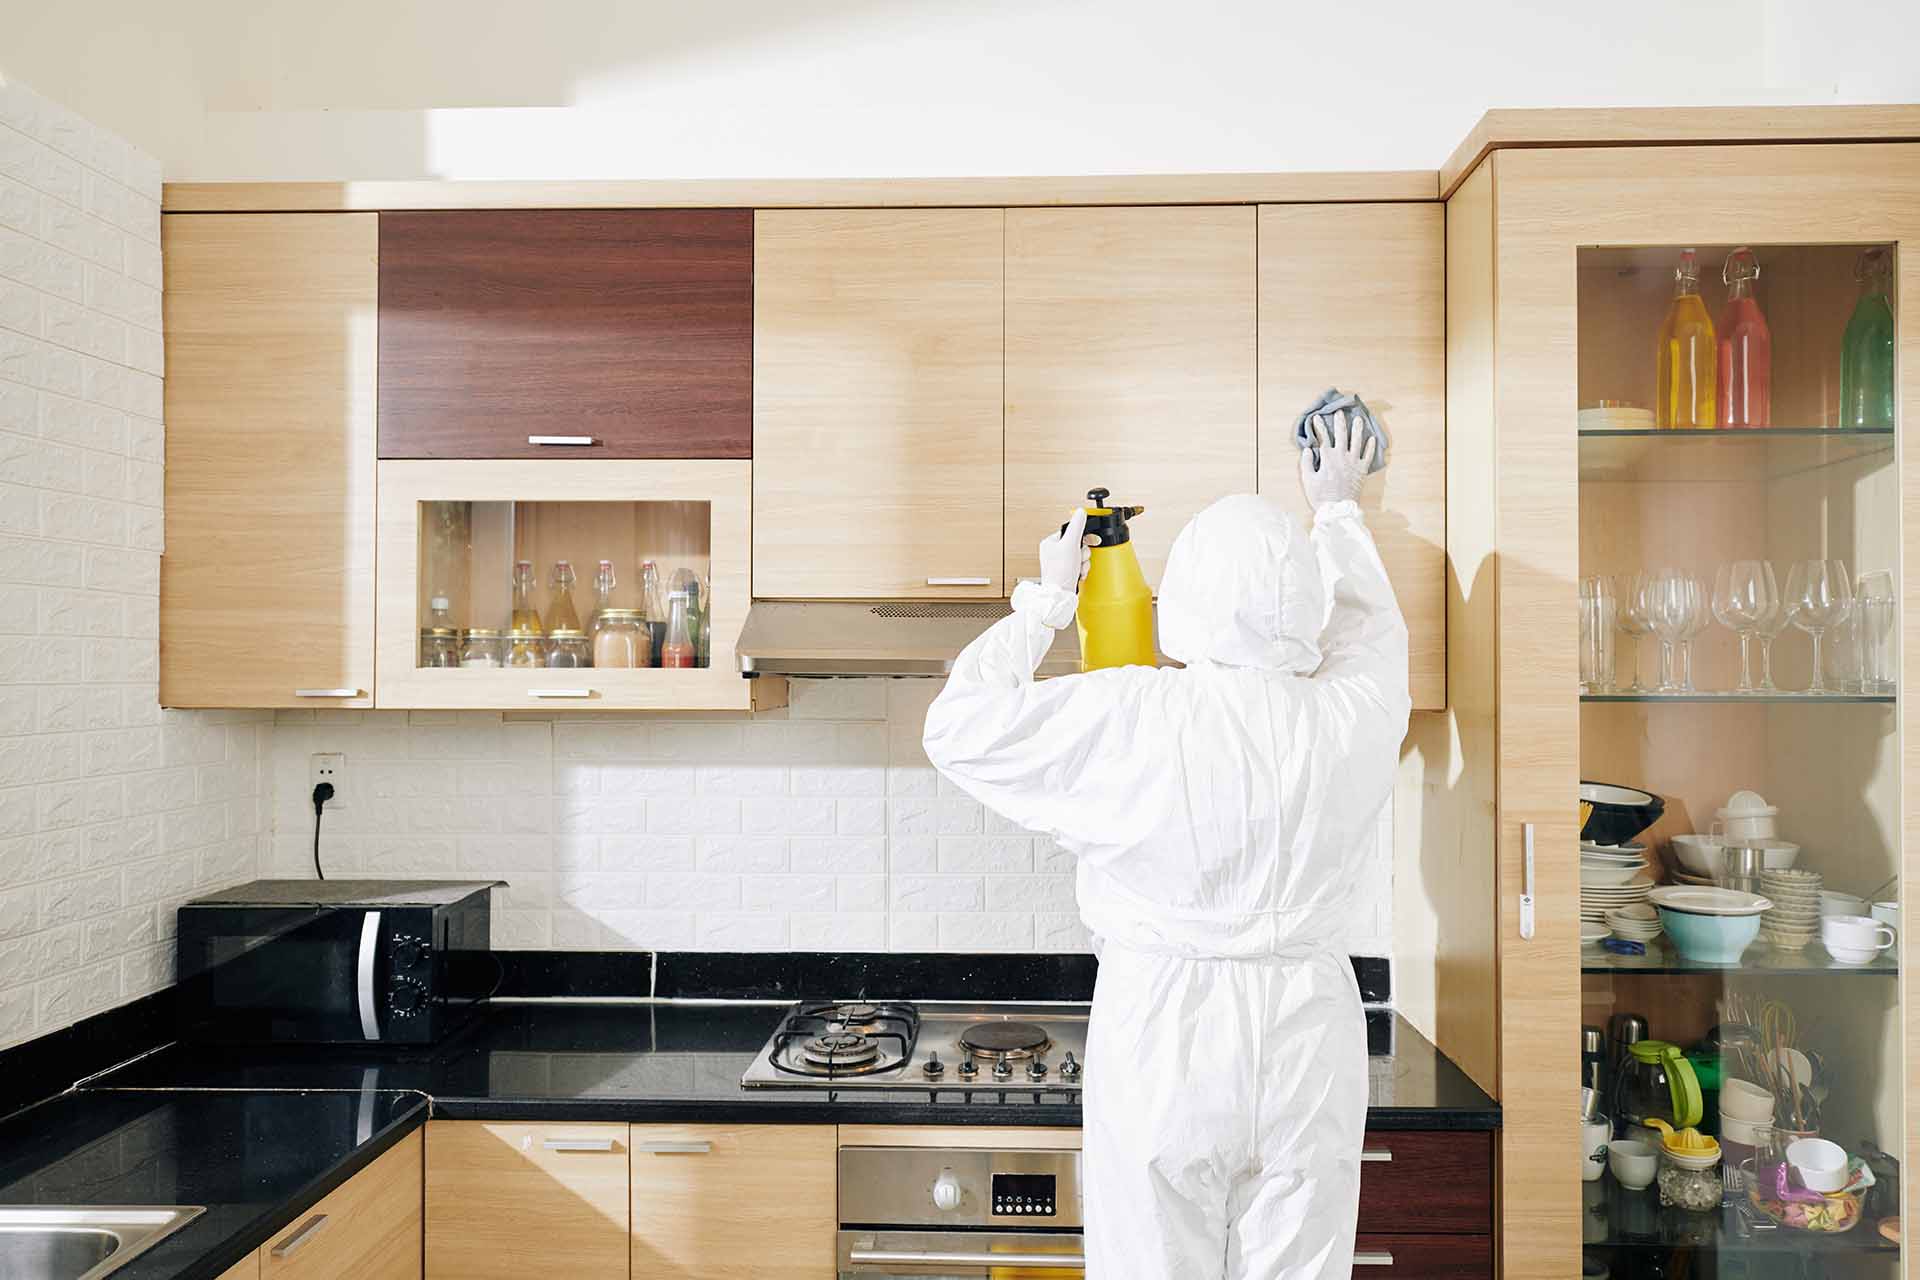
Are you looking to do a kitchen renovation? Is your kitchen cabinet looking old but you don’t have enough money to pay for a full-replacement? Don’t break a sweat. When gone about the right way, refacing your kitchen cabinet will make them look just as shinning and attractive as new ones.
Besides, you also get to save a lot of money when you go with a cabinet reface rather than replacement. You will be very surprised what a little veneer and some new cabinet door can do in transforming your cabinets’ look and enhancing the curb appeal of your entire kitchen.
Compiled below are 4 easy steps you can go about refacing your cabinet to give your kitchen a better look without spending a fortune on your kitchen renovation project:
 1. Reface Cabinet Sides, Drawers and Doors with Veneer and Stain
Your kitchen cabinet refacing project should starts by removing the cabinets’ drawers, doors, and all hardware alike. After this has been done, sand the front and side surfaces of your old cabinet properly. Getting a perfectly smooth surface from the sanding operation isn’t necessary, what you should be gunning for is a rough enough surface that will allow the new wood veneer to adhere properly.
You can then proceed to apply a thin film of wood glue on the surface of the cabinet then use a nail gun to fix the veneer panel firmly in place. Adjust the nail gun to sink the brad header a little below the surface of the veneer. Once the side panels are in place, use a block plane to smoothen the veneers’ rough edges. You can now apply veneer to the cabinet fronts, horizontal areas, and rails.
2. Stain Cabinet Interiors
Once you’re done with the first step and you’re ready to stain your cabinet, you’ll need a paintbrush or rag to start your staining from the inside edges and openings. Once you’re done staining the inside edges and opening, you can then proceed to stain the cabinet sides, drawers, and front. This staining technique allows you to stain the less critical areas quickly and evade certain staining mistakes. Go over the staining procedure twice to ensure proper staining and wipe any excess spills. Allow the stain to dry according to the manufacturer’s direction before proceeding to the next stage.
3. Finish Cabinets with Polyurethane
From heat and steam to grease spatters and cleanup splashes, the kitchen cabinet is usually subjected to a lot of pressure. This the more necessitates the need for an extra protective surface for your kitchen cabinet. A three-layered coating of water-based polyurethane is all the protection your kitchen cabinet will ever need. The polyurethane is a perfect coating choice because it is odor-free, dries fast, and flattens better than oil or alkyd urethane. When applying the polyurethane with a manufacturer recommended brush, make sure you coat in the same direction as the wood pattern and don’t apply too many brush strokes on a point to prevent air bubbles that leave a bump on the surface of the cabinet when they dry.
4. Reassemble the Cabinets
Reassembling your cabinet starts with the hinges. Proper positioning of your cabinet door hinges is quite important. Place each hinge one hinge-length from the base and top of the cabinet door. When boring the screw hole, ensure to use a self-centering drill bit. This helps create the perfect hole length because it aligns itself in the hardware screw hole and sets the right depth.
Next, you install the shock absorber for the doors. This allows for the smooth opening and closing of each cabinet door. This works best when your cabinet doors have glass inserts.
If you purchased new drawer fronts and boxes separately for the cabinet refacing project, you will have to lay one of the new drawer boxes on an old drawer front. This ensures proper alignment and allows for smooth pulling and pushing of the cabinet drawers.
You will have to take equal measurements of the sides, top, and bottom, which will be transferred to the new front panel. You can now go-ahead to drill pilot holes for the screws then clamp the front panel and box together by fastening the screws from inside the drawer box. These steps should be repeated for the other drawers which after you’ll install the drawer puller.